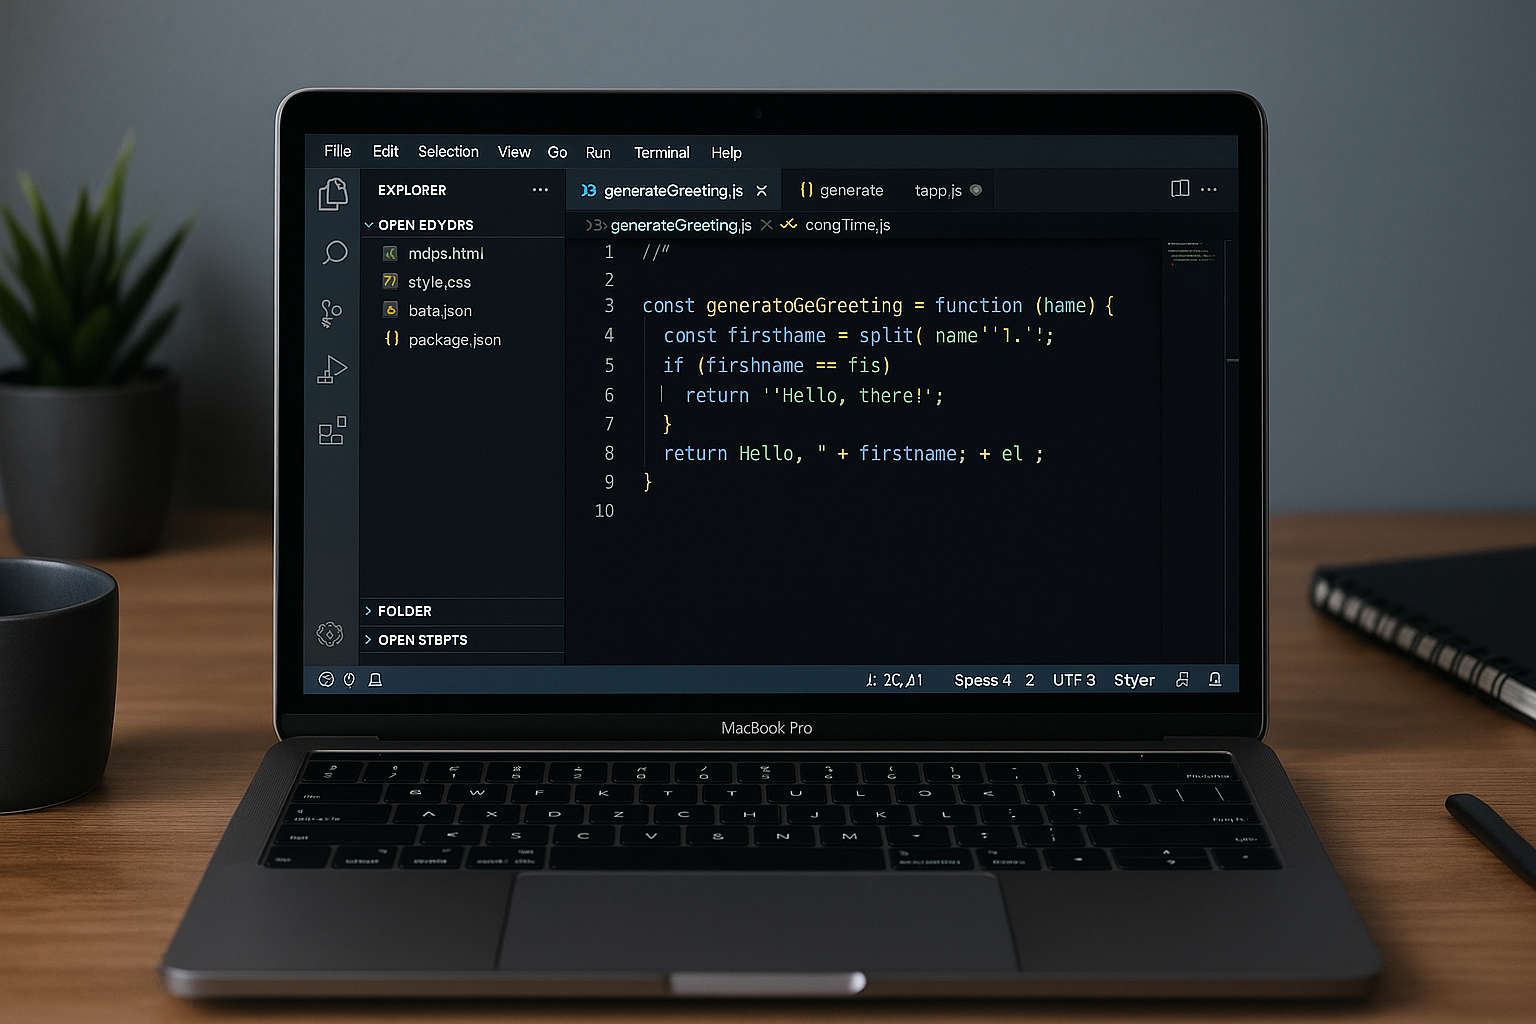
Initial Configuration of a Dev Environment MacBook

Introduction
After receiving a new MacBook, I usually follow a similar set of steps to get it ready as a development MacBook. Here, I show a list of all the tooling I install in order to get it most of the way there and also the files which should be preserved from one device to the next. This installation works best if performed in the sequence shown.
Steps
The following steps were performed to configure MacBook Pro
- Make sure XCode is installed, select the components you need:
- macOS 15.x
- iOS 18.x
- Install Chrome
- Install iTerm2. Make sure to also install shell integration which can be found in the iTerm2 main menu.
- Install brew
- See here: https://brew.sh/
- Homebrew should also install command line tools for Xcode
- Install wget:
brew install wget - Install oh-my-zsh
- Install zsh autosuggestions:
- https://github.com/zsh-users/zsh-autosuggestions
brew install zsh-autosuggestions
- Install powerlevel 10K
- See here
- Install this plugin to add fonts and nice prompt. Use iterm2. Follow instructions for manual installation, this will install Meslo Nerd Font automatically through iTerm2.
- Install FZF (fuzzy completion in terminal)
- See here
- Use brew to install; then look in the readme for instructions on installing key bindings (such as those for fuzzy auto-completion for CTRL-R)
- To install useful key bindings and fuzzy completion (after installing fzf via brew):
$(brew --prefix)/opt/fzf/install
- Install zsh syntax highlighting
- See here
- Use brew to install:
brew install zsh-syntax-highlighting
- Install VS Code
- Install Postgres from the website. Don’t use brew
- Install through downloadable app here
- Install DBeaver
- Install Docker
- Install bat using brew (bat is an improved version of cat command)
- Install node and npm using brew
- Install rbenv, Ruby, and bundler
brew install rbenv
rbenv init
echo 'eval "$(rbenv init -)"' >> ~/.zshrc
# Install Ruby (version 3.2.2)
rbenv install 3.2.2
rbenv global 3.2.2

# Install bundler
gem install bundler:2.5.7
- Make sure you have the .vimrc file which has syntax highlighting for vim and also starts NerdTree with the vim command.
- Install nerdtree:
curl -sS https://webi.sh/vim-nerdtree | sh; \ source ~/.config/envman/PATH.env
- If necessary, install Terraform using brew
- If necessary, install tfenv using brew
- If necessary, install AWS CLI
Important Files to Preserve
If I am migrating from one device to another, I generally make sure the following files are moved over to the new device:
~/.vimrc

# All SSH keys
~/.ssh/

# The shell history
~/.zsh_history

# I keep all shell alias commands in .alias_list
~/.alias_list