Changing DNS Service Providers
Changing DNS Service Providers
Changing form one DNS registrar to another can seem like a major undertaking with risks such as taking down your web property for an extended period of time. If done improperly, it is possible you could take your site down for several hours while DNS propagates. Migrating a DNS out of a DNS registrar (for example GoDaddy or HostGator) involves two main steps: move the DNS records over and then after propagation has completed, move over the domain itself.
We will be following an example of moving a domain out of HostGator and into AWS Route 53.
Migrating DNS Records
- Create a Hosted Zone in AWS Route 53
- Go to Route 53 → Hosted Zones → Create a new public hosted zone for the domain you are moving.
- Route 53 will give you 4 NS (Name Server) records (like ns-123.awsdns-45.org).
- Gather all DNS Records from HostGator
- Log into HostGator’s cPanel or DNS management area.
- Copy all DNS records (A, CNAME, MX, TXT, SPF, DKIM, etc.) into your Route 53 hosted zone.
- If you use services such as WHM on your current provider, you can use it to export a zone file instead of having to move over records manually. Downloading the zone file may not be possible if you are looking at the DNS records through CPanel.
- Import DNS Records onto AWS Route53
- In the AWS Hosted Zone, you will see an import button which you can use to import the zone file provided by the original registrar.
- You’ll want to make sure services like your website, email (e.g. Google Workspace), SPF/DKIM/DMARC, etc. are correctly replicated.
- Update Nameservers at HostGator
- Still inside HostGator’s domain panel, go to the domain settings and replace the current name servers with the 4 NS records from your Route 53 hosted zone.
- This step points your domain’s DNS to AWS, even though the domain is still registered with HostGator.
DNS changes can take up to 48 hours to propagate, but it’s often much faster (within a few hours).
- Verify DNS is Working
- Use a tool like DNS Checker to confirm that your new records are resolving globally.
- Make sure your website, email, and any other services are still working.
Migrating Domain
Proceed with domain migration once you have confirmed the records have been moved over and that you are getting DNS responses from the new name servers. To actually mover over the domain, all the registrars tend to add several steps in order to ensure the transfers are legitimate and to ensure users are fully informed. All Domain registrars will show settings related to the domain. For example, here is what HostGator shows you:
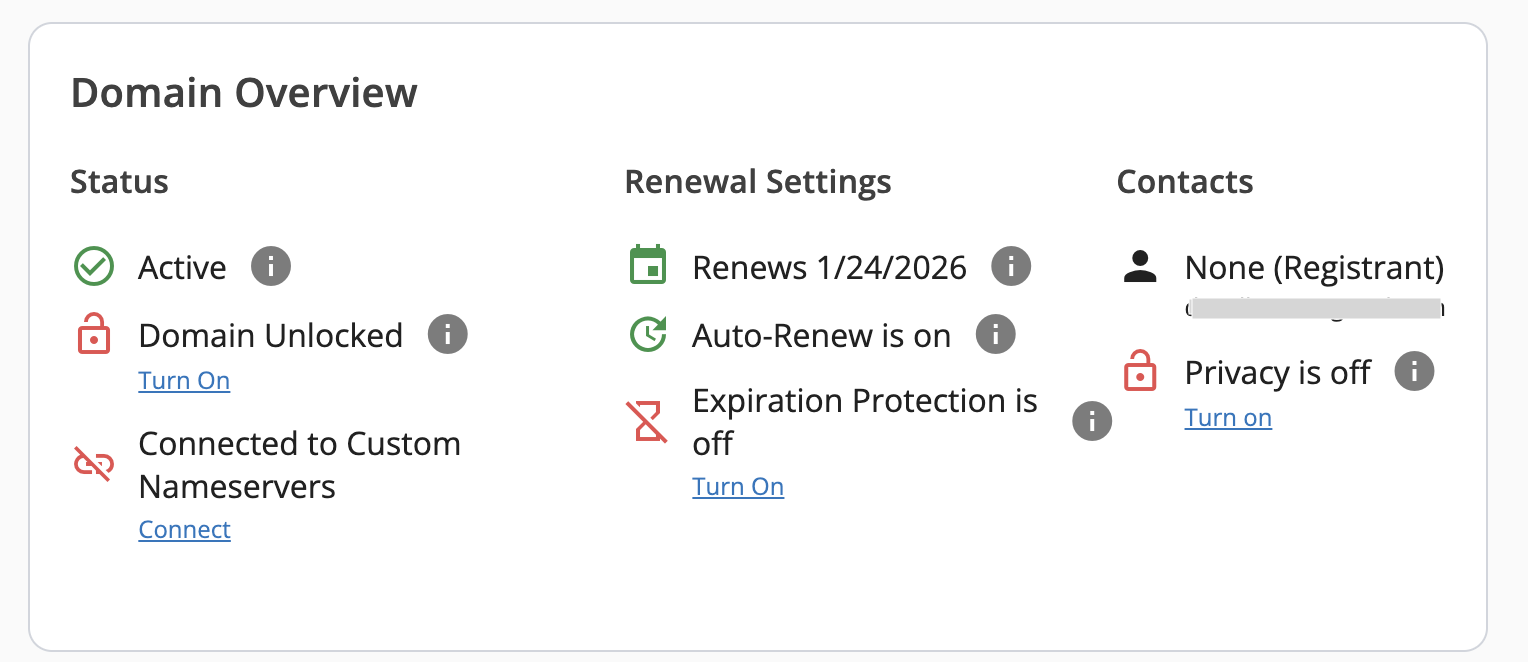
- Make sure you meet the following 3 requirements:
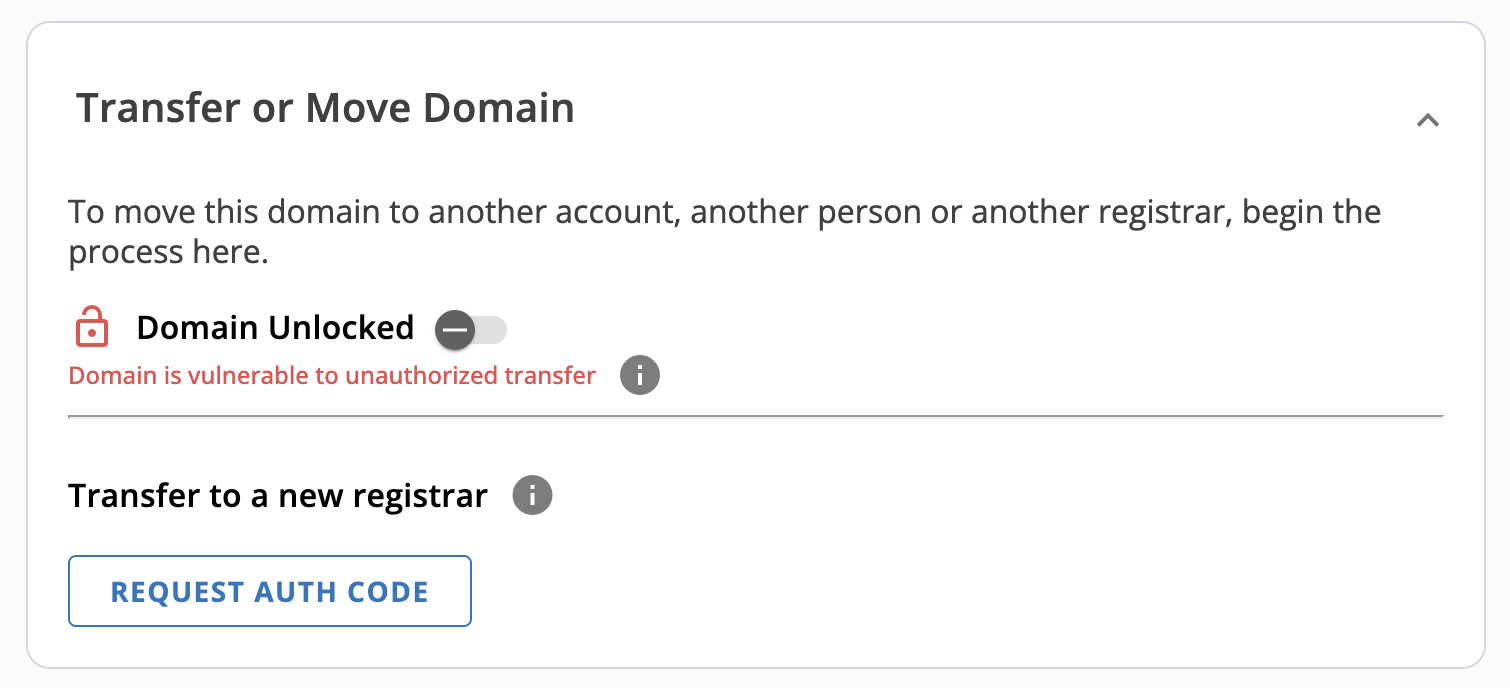
- Make sure the domain is unlocked. Also, it’s important for the original registrar to have your contact information up-to-date, especially the email address.
- Privacy protection (like WHOIS Guard) should be disabled or the transfer email could go to AWS instead of to the domain owner.
- It’s important to note that ICANN prevents domains from being transferred if they have been registered within 60 days (or last transferred within 60 days).
-
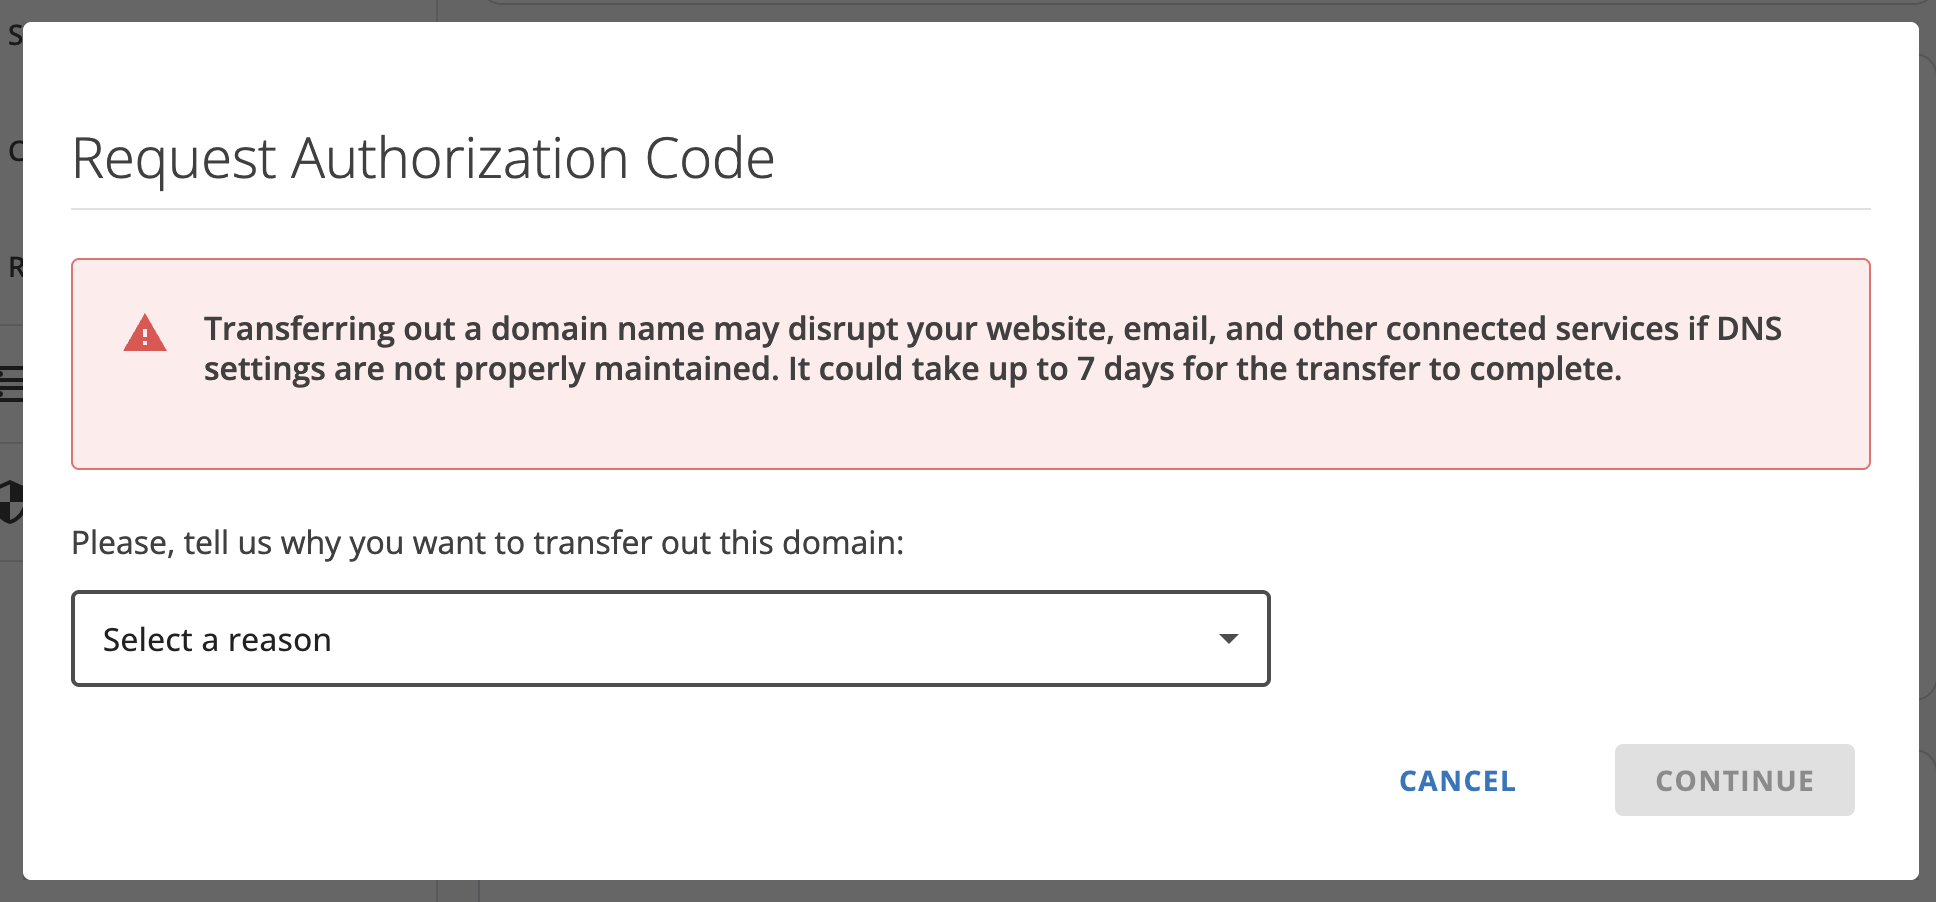
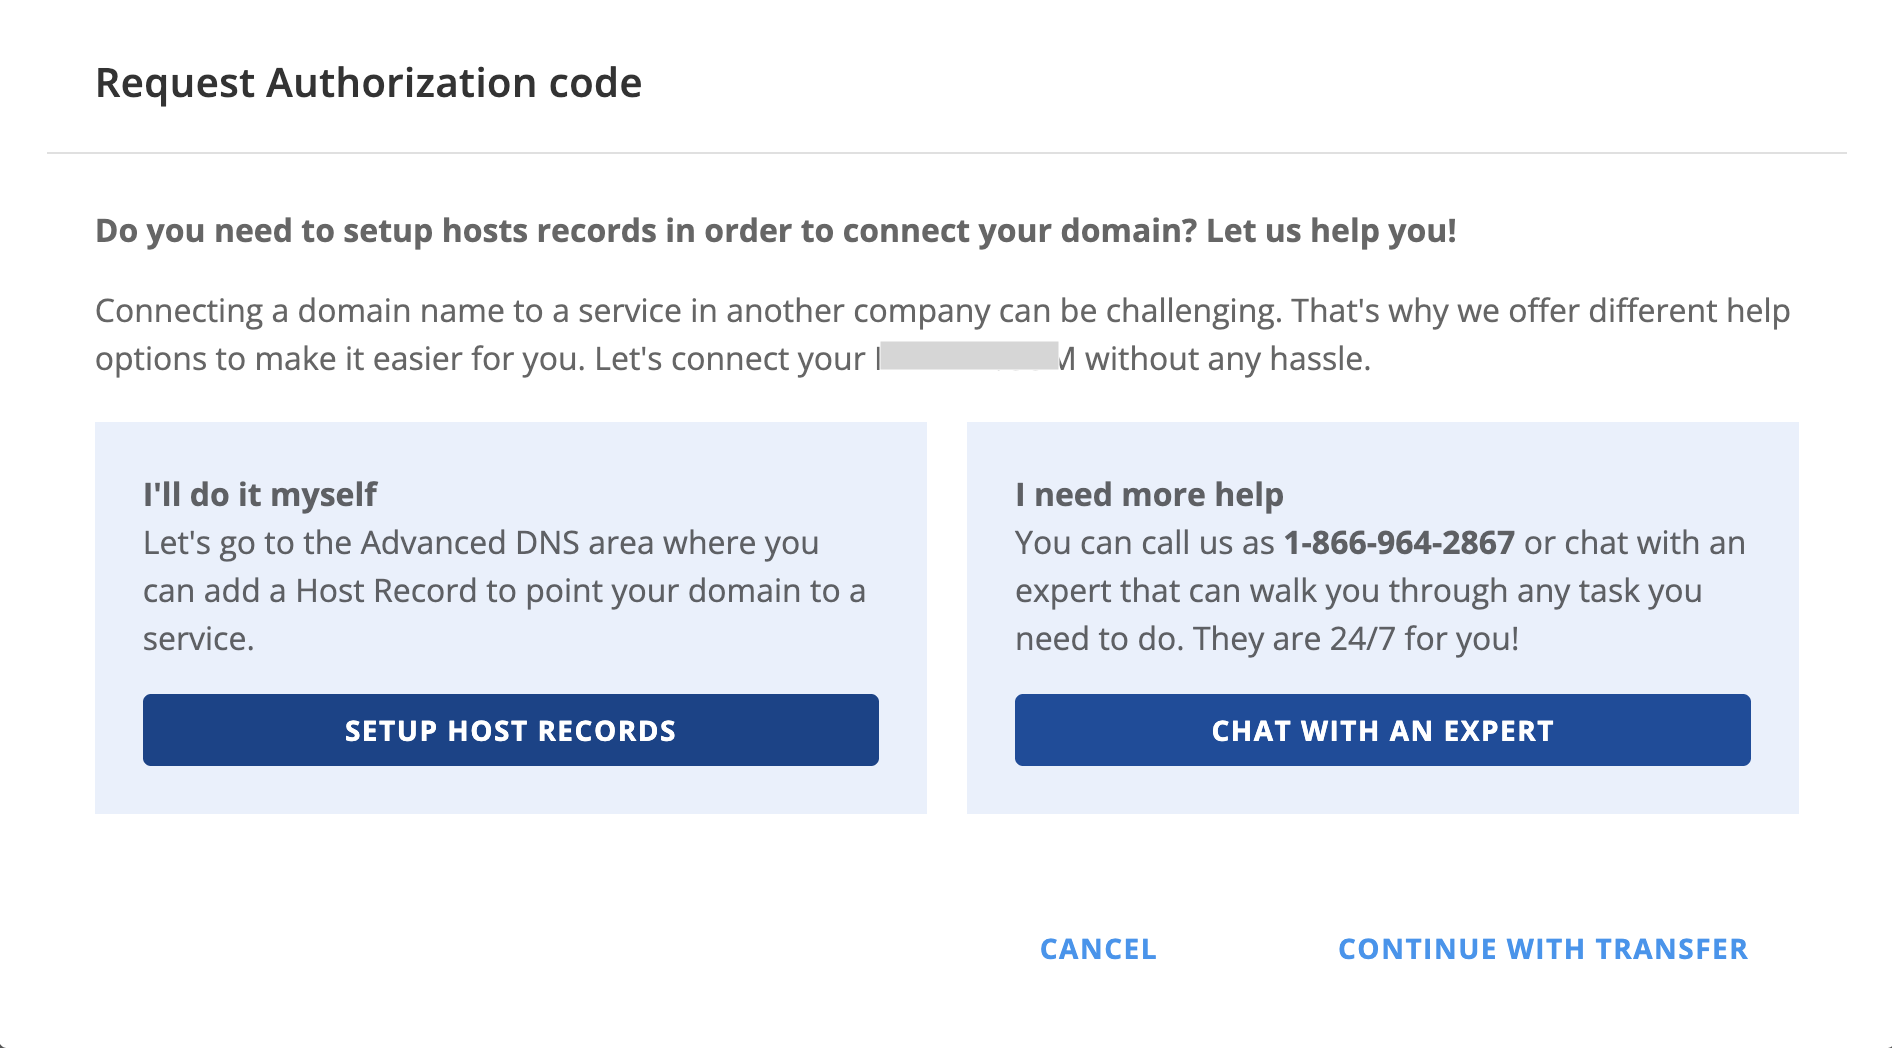
Request an Auth Code to initiate the transfer.
-
Confirm the transfer request
-
Continue with transfer
-
Send the request to email address on file
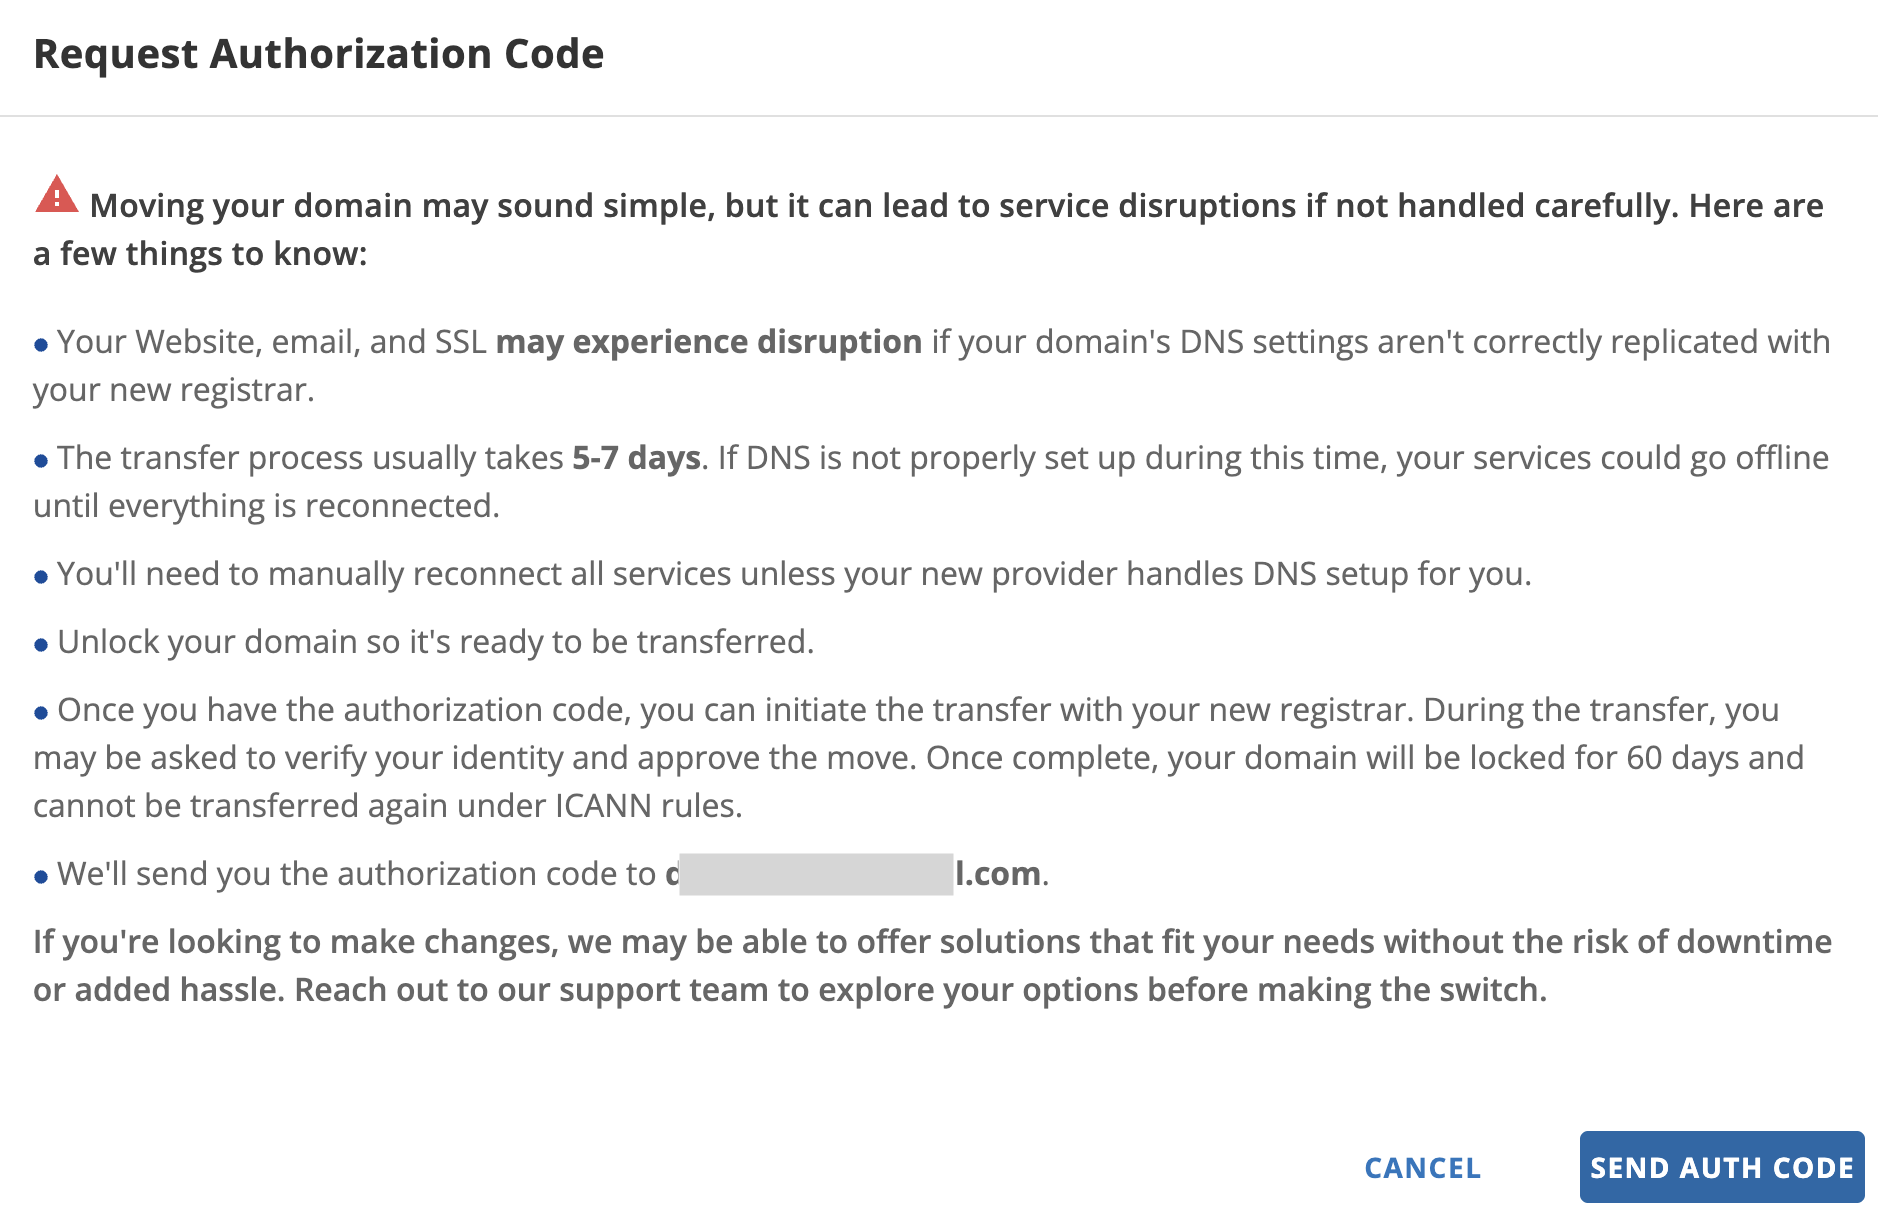
- Wait to receive an email from the original registrar. This can take a few days. HostGator typically takes 3 days to deliver the auth code. After receiving the auth code, you can go to Route 53 / Registered Domains and select the Transfer In button.
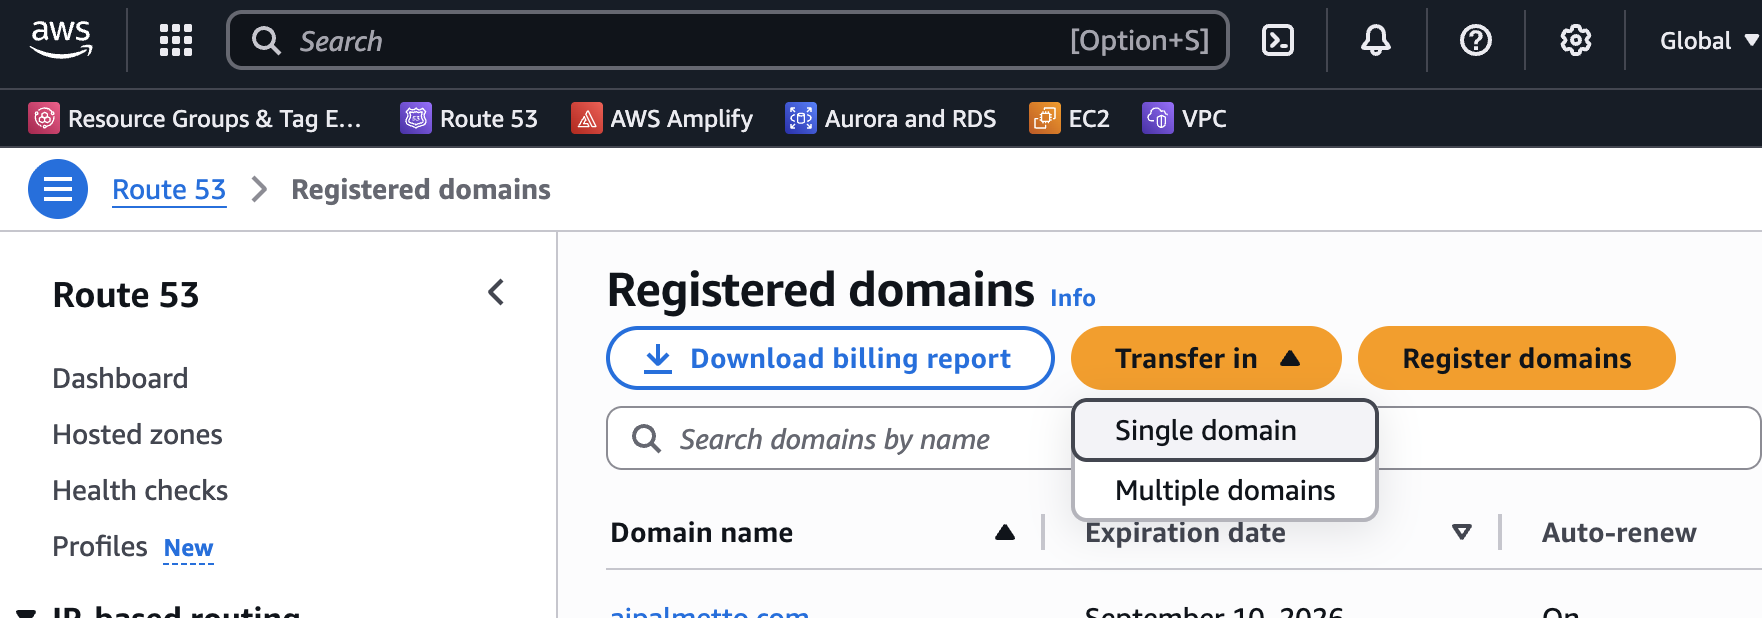
- Route 53 will ask for the auth code at step 2 and then provide pricing for the transfer.
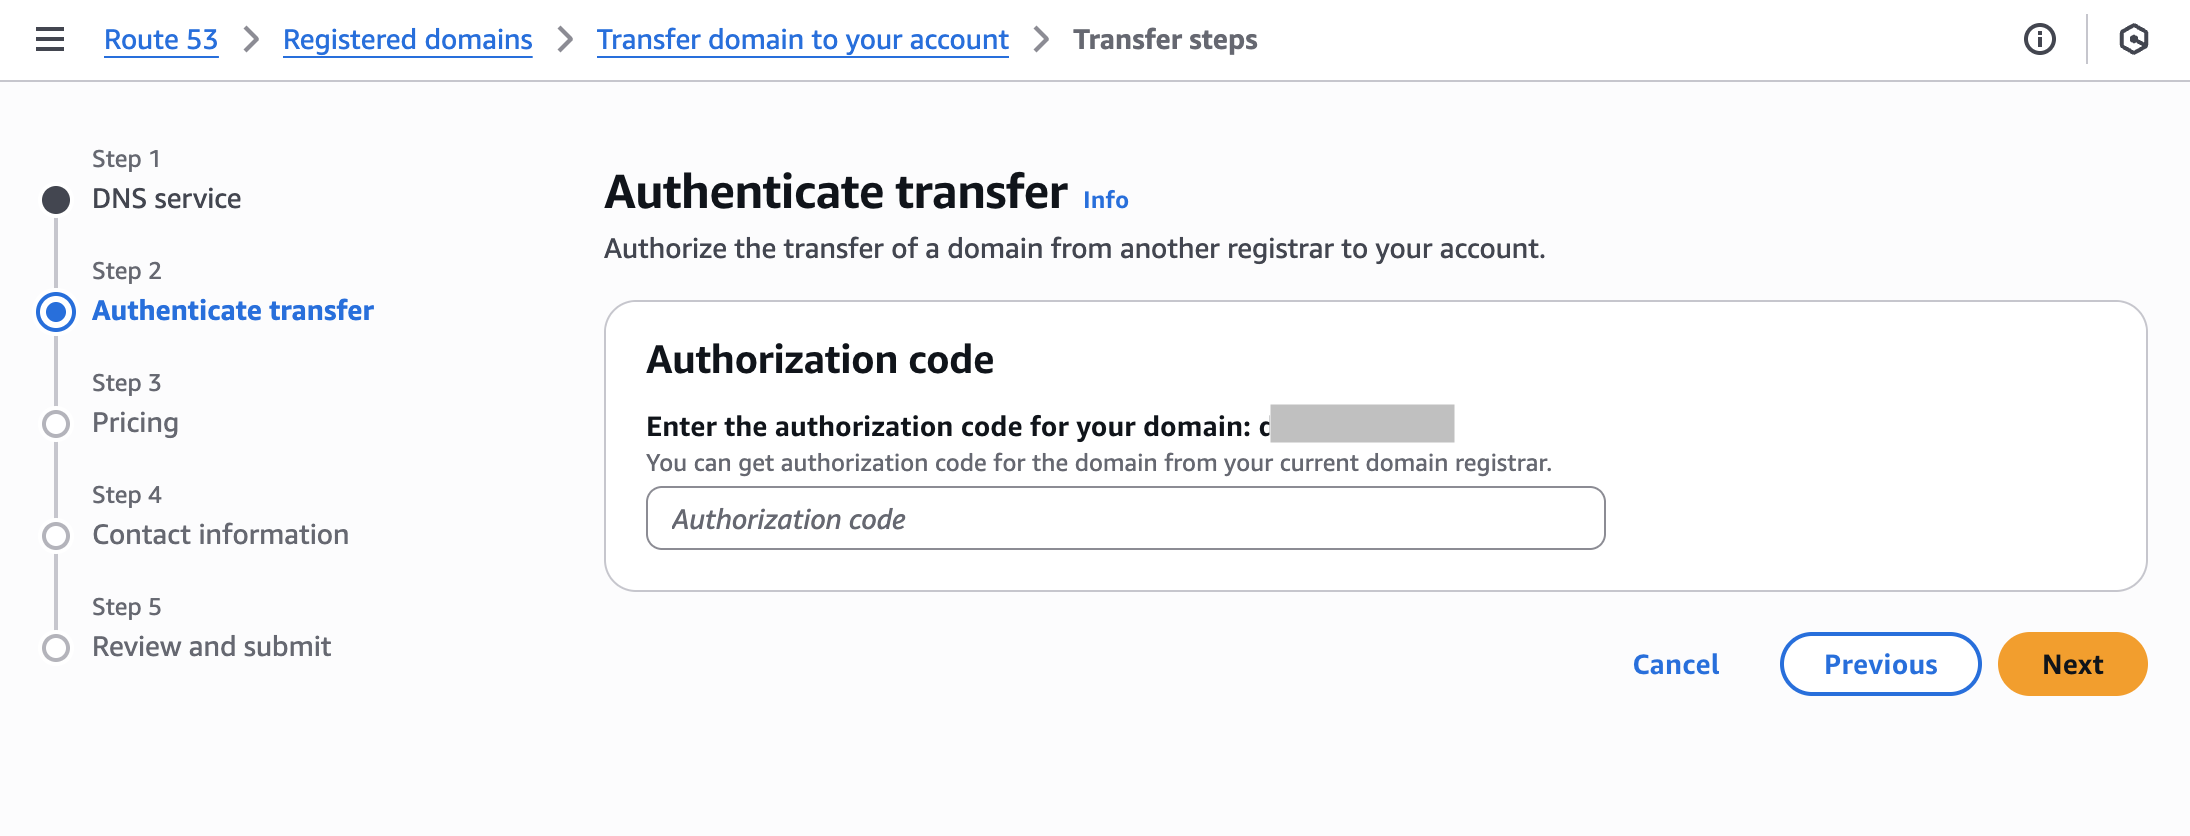
- After confirming your contact information and submitting the request, the domain transfer can take a few days. Check your inbox for a message from Route53 confirming the move.
Completion
After this, you will be able to see the domain in Route53 under Registered Domains. Going forward, renewals of the domain will be done through AWS. All email notifications / reminders regarding the domain will come from AWS.